Adventures in Haiku
I first discovered the Haiku operating system through my research into BeOS, the brainchild of Apple employee Jean-Louis Gassée. If you don’t know Gassée by name, then perhaps you may know of him as the person responsible for sabotaging Steve Jobs’ plan to overthrow John Sculley while on a business trip. (This story is documented in both of the Jobs movies: the cheesy one with Ashton Kutcher and the slightly more thought-provoking Aaron Sorkin one.) So, it should not come as a surprise that BeOS failed to catch on in terms of popularity as a graphical operating system. Be-nthusiasts are prone to reciting the urban legend that Jobs scoffed at Gassée’s product in favor of NeXTSTEP, the object-oriented operating system produced under the wing of Jobs’ own NeXT, remembered by many as a stroke of vengeance in order to get back at Apple.
In truth, it’s doubtful that BeOS was ever considered, not even for a brief moment, by the people over at Apple to act as the foundation for what eventually became OS X. BeOS is very lacking in terms of security. Everything runs at the root level, and this is also true of Haiku. Fortunately, the BeOS platform is so unpopular that it accomplishes a lot with “security through obscurity” and so there is very little concern by way of malware. It should go without saying that it’s a bad idea to daily drive this platform or its derivatives, despite naïve YouTubers who have only just found out about the operating system and are jumping on the bandwagon with no idea of where the band is headed.
So, a couple of months ago I decided that it would be interesting to run Haiku on bare metal. I had previously tinkered with it on a virtual machine, but more often than not, a VM does a poor job of exposing the potential hardware incompatibilities that a system may have. The machine that I am using has an i7-4790K with a Z97 chipset (MSI Z97 Gaming 5). I am also running my display through an RTX 2080 Ti, but I’ll explain more about that later. Haiku has a lot of quirks when it comes to the install process, so I decided that it might be helpful to others if I were to explain in great length all the steps that I went through in order to end up with a working install. At the time of writing, I’m running Haiku as my second machine, and yes, it is connected to my local network, although I have certain parts of my network compartmentalized so as to prevent there from being any damage done to other network devices if something were to take control of my system (very unlikely).
Installing Haiku
I decided to use a nightly image (hrev57649) because, at least according to some forum posts, driver support has been significantly improved since R1/beta4. (Beta 4 was released in December 2022.) I also used the free and open-source balenaEtcher to flash the disc image to a USB thumb drive.
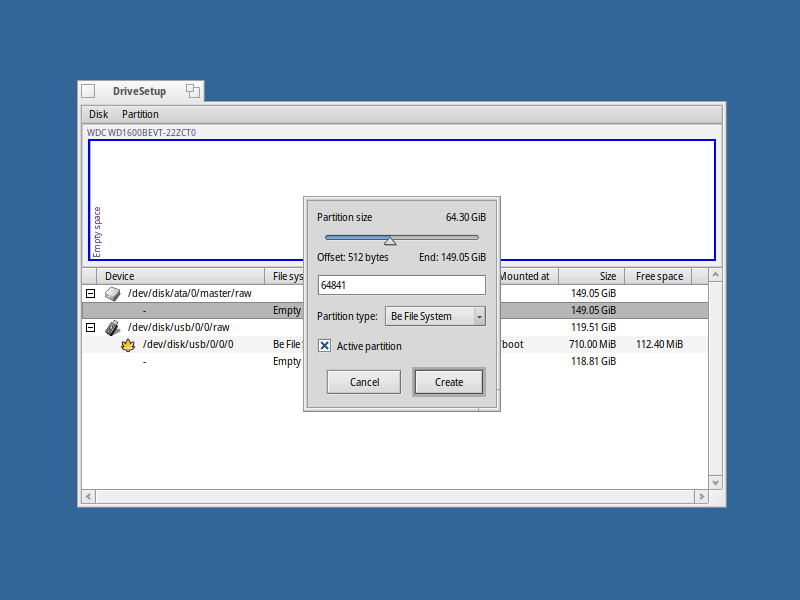
This is what the "create" (partition) panel should look like, with a particular emphasis on the "active partition" setting.
The first hiccup that I encountered was with my storage device. Fortunately, the installer loaded just fine through UEFI and it didn’t have any trouble detecting my devices, but I wasn’t able to create a bootable partition using DriveSetup. My storage device is an M.2 NVMe SSD, but I don’t think this had anything to do with my partition woes, seeing as Haiku never had any trouble detecting the device to begin with. In conclusion, what I ended up having to do was completely wipe the device and install a Linux distribution with the GRUB boot loader. From there, I was able to boot back into the Haiku installer and check off the “active partition” setting.
Haiku, being fairly lightweight, installed to the solid state device in just a few seconds. I was then able to restart my computer and from there I encountered my next problem: neither my BIOS menu nor the boot loader recognized the Haiku partition as bootable. After scouring the forum, it came to my attention that Haiku does not install an EFI boot loader which meant that I would need to either copy Haiku’s EFI loader to the system data partition or use a third-party boot manager. I opted to do the latter because I was already dead-set on dual-booting with Ubuntu at that point and so it would be easier to have a fully fleshed out boot manager anyways. So, I chose rEFInd as recommended by Haiku’s own guide by adding the PPA to my Ubuntu installation that I had created by now, so that was rather convenient. After doing this, I was able to boot back into the Haiku installer (ugh… again…) so that I could copy over Haiku’s UEFI loader to the boot manager directory.
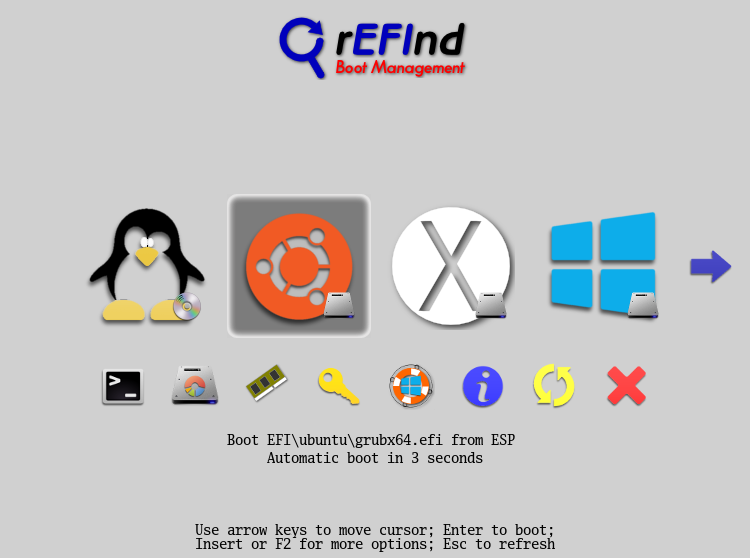
I have come to seriously appreciate the rEFInd boot manager, pictured above. Of course, this isn't my system, as I don't have Windows or OS X installed on there. (I can't be assed to take my own picture.) My only prior experience with rEFInd was during an (unsuccessful) attempt to Hackintosh an old desktop computer.
From the installer, I mounted the “EFIBOOT” partition and copied “/boot/system/data/platform_loaders/haiku_loader.efi” from the USB installer to “/EFI/BOOT/BOOTX64.EFI” in the boot partition. Doing this allowed me to restart my system, load the rEFInd boot manager and boot into Haiku. I suppose that I could’ve tried installing Haiku using my motherboard’s legacy BIOS configuration, but I doubt that would’ve worked, as I tried doing this on another machine (an i5) and wasn’t even able to boot into the installer from the thumb drive. Regardless, I am ultimately glad that I choose to jump through the extra hoops in order to boot from UEFI.